Microsoft Azure Speech to Text
Introduction
Transcribe audio to text from a range of sources including microphone and audio files in more than 85 languages and variants.
Azure’s speech-to-text service defaults to using the Universal language model. This model was trained using Microsoft-owned data and is deployed in the cloud. It is optimal for conversational and dictation scenarios. Add customisation and training to your model by uploading audio data and transcripts., this is particularly useful for addressing ambient noise or industry-specific vocabulary.
Additionally, you can reference your custom model through SDK, Speech CLI, or REST APIs on a coding language of your choice.
Fees
Pricing depends on usage and requires a Microsoft account, an Azure account, and a Speech service subscription. The free Speech service instance allows a limited amount of audio hours Speech-to-text each month. For more information on pricing visit Speech Services Pricing.
Setting up Speech-to-Text
First, set up all the account, subscription, and resources required.
- Sign-up for a Microsoft account if you do not have one yet at the Microsoft account portal.
- Once you have a Microsoft account, go to the Azure sign-up page, select Start free, and create a new Azure account using a Microsoft account.
- Go to portal.azure.com and sign in with your account.
- Create a new Azure subscription. If you already have the Azure subscription you want to use (including free trial), skip this step.
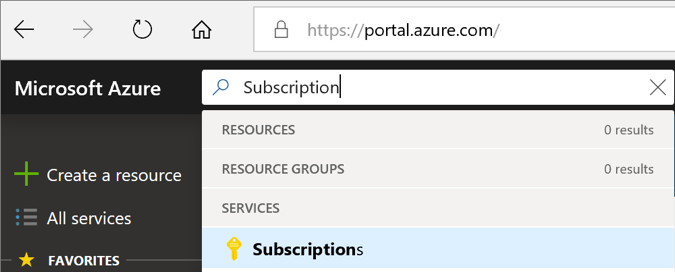
- Search for “Subscriptions” in the top search bar
- Select Add
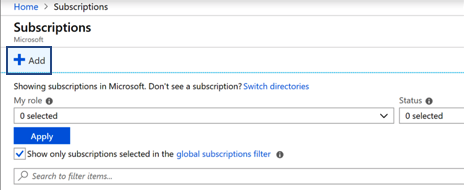
- Select the relevant billing account, fill in the form and click Create. For more information on the different fields visit Azure subscription.
- Search for “Subscriptions” in the top search bar
- Create an Azure Speech service resource
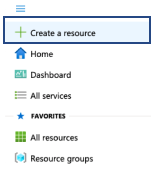
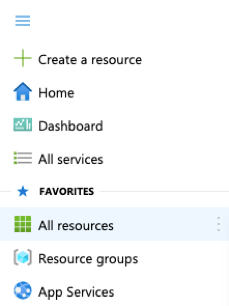
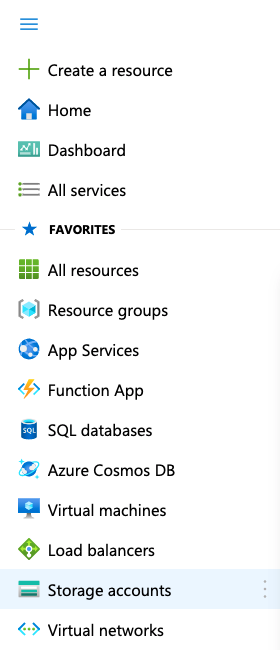
- Open the collapsed menu in the upper left corner of the screen and click Create a resource
- In the new window, type "speech" in the search box and press enter.
- In the search results, select Speech.
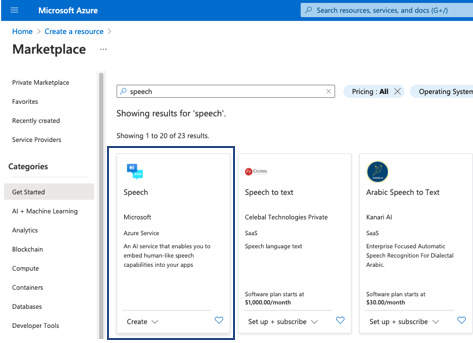
- Select Create, then fill in the form. For more information on the different fields visit Speech service.
- Select Create. This will take you to the deployment overview and display progress. It will take a few moment to deploy the new Speech resource.
- Open the collapsed menu in the upper left corner of the screen and click Create a resource
Option 1: Out of the box Speech-to-text Service
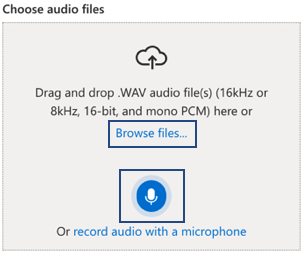
The out of the box speech-to-text Service is available for quick real-time Speech-to-text service and transcription of WAV audio file(s) (16kHz or 8kHz, 16-bit, and mono PCM).
- Sign in to Speech Studio with your Azure account.
- Select the speech service resource you need to get started.
- Select Real-time Speech-to-text.
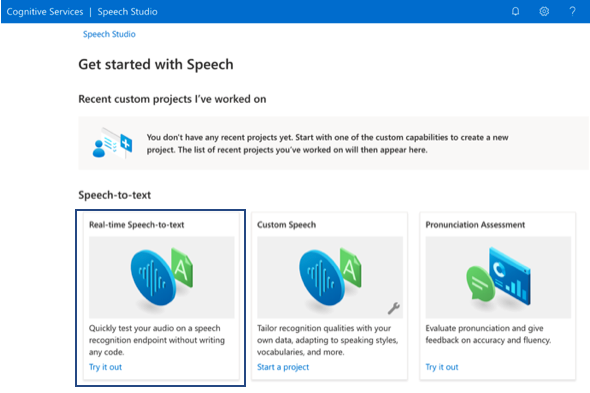
- Select language of speech or set to auto detect.
- Choose audio files by clicking Browse files or click the microphone icon to start recording audio live.
- The output of the recorded or uploaded audio will be displayed on the right of screen.

Option 2: Implement Speech services through Speech SDK, Speech CLI, or REST APIs (coding required)
Azure Speech service is also available via the Speech SDK, the REST API, and the Speech CLI. You can reference an out-of-the-box model or your own custom model through the keys and location/region of a completed deployment.
- Find keys and location/region
- Open the collapsed menu in the upper left corner of the screen and click All resources.
- Select the name of your Cognitive Service resource.
- On the left pane, select Keys and Endpoint under Resource Management.

- Copy one of the 2 keys available (and also location/region value for SDK calls)
- Open the collapsed menu in the upper left corner of the screen and click All resources.
- Visit Speech-to-text overview for quickstarts, sample code and how-to-guides on customisations. Some relevant links (also available from overview page)
- Speech-to-text REST API: Speech-to-text has two different REST APIs. Each API serves its special purpose and uses different sets of endpoints
- Speech SDK : Quickstart guides available in C#, C++, Java, JavaScript, Objective-C/SWIFT, Python
- Speech SDK Github Repository: Sample codes available in C#, C++, Java, JavaScript, Objective-C, SWIFT, Python. This sample code can be edited to extract more information from each Speech-to-text utterance. For example, the below additions to the python from-microphone code prints the model output of difference possible sentences an utterance could be including the confidence level of each.
- At the start of the code:
import json - At the speech_config options:
 speech_config = speechsdk.SpeechConfig(subscription=speech_key, region=service_region)
speech_config.set_service_property(name='wordLevelConfidence', value='true', channel=speechsdk.ServicePropertyChannel.UriQueryParameter) speech_config.set_service_property(name='format', value='detailed', channel=speechsdk.ServicePropertyChannel.UriQueryParameter) - After print("Recognized: {}".format(result.text)):
my_json = json.loads(result.json)for i in my_json.get('NBest'):print(str(i.get('Lexical')) + ": " + str(i.get('Confidence')))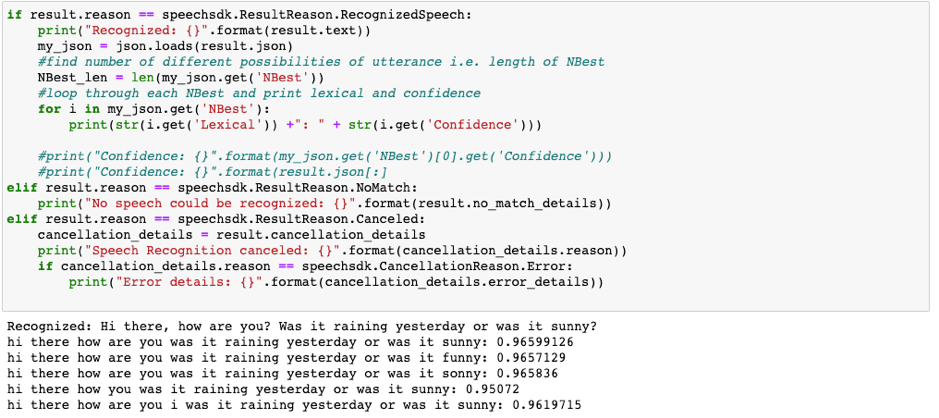
- At the start of the code:
Option 3: Batch Transcription from File (coding required)
Batch transcription is a set of REST API operations that enables transcription of a large amount of audio in storage. Azure blob storage is used for this service. The batch transcription API supports the following formats:
- WAV, PCM, 16bit, 8kHz/16kHz mono or stereo
- MP3, PCM, 16-bit, 8kHz/16kHz mono or stereo
- OGG, OPUS, 16-bit, 8kHz/16kHz mono or stereo
- Create an Azure blob storage
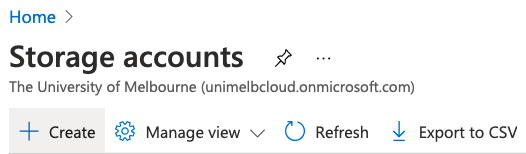
- Open the collapsed menu in the upper left corner of the screen and click Storage accounts
- Click Create
- Fill in relevant fields then click Review + create
- Open the collapsed menu in the upper left corner of the screen and click Storage accounts
- Wait for storage to deploy then click on it to open the overview.
- Create a new Storage Container
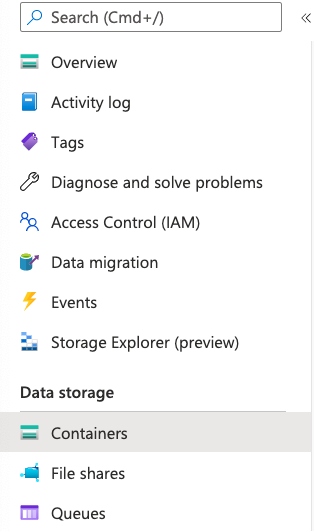
- Click on Containers under Data Storage
- Click + Container

- Fill in container name and change Public access level to Blob (anonymous read access for blobs only)
- Click Create
- Click on Containers under Data Storage
- Open newly created container and upload audio files.
- Generate SAS URL
- Click on an uploaded audio file
- Click the Generate SAS tab.
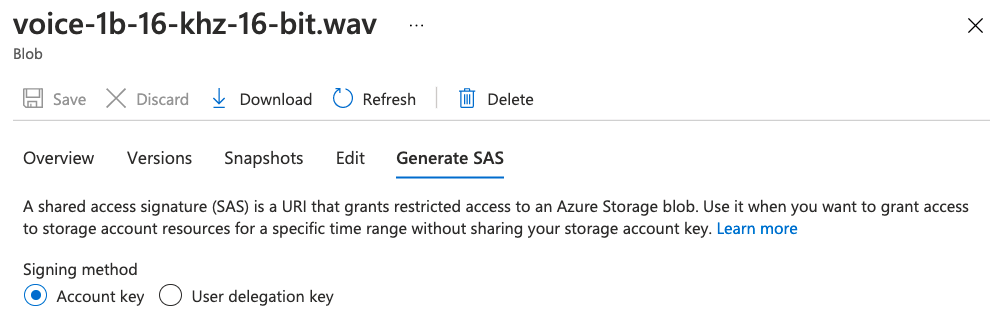
- Update relevant information and click Generate SAS token and URL
- Copy Blob SAS URL to be inputted in code.
- Find keys and location/region
- Open the collapsed menu in the upper left corner of the screen and click All resources.
- Select the name of your Cognitive Service resource.
- On the left pane, select Keys and Endpoint under Resource Management.
- Copy one of the 2 keys available and region value.
- Open the collapsed menu in the upper left corner of the screen and click All resources.
- Download and install the API client library through Swagger. (Below steps taken from Azure github repository)
- Go to https://editor.swagger.io.
- Click File, then click Import URL
- Enter the Swagger URL for the Speech Services API:
https://.dev.cognitive.microsoft.com/docs/services/speech-to-text-api-v3-0/export?DocumentFormat=Swagger&ApiName=Speech%20to%20Text%20API%20v3.0 Click Generate Client and select Python. Save the client library. Extract the downloaded python-client-generated.zip somewhere in your file system. - Install the extracted python-client module in your Python environment using pip:
pip install path/to/package/python-client. - The installed package has the name
swagger_client. You can check that the installation worked using the commandpython -c "import swagger_client"
- Install other dependencies
- Install requests libraries through the
pip install requestscommand.
- Install requests libraries through the
- Run the sample code making sure to update the following:
- Subscription key and region (See step 6)
- URL of audio recordings in blob storage (See step 5)
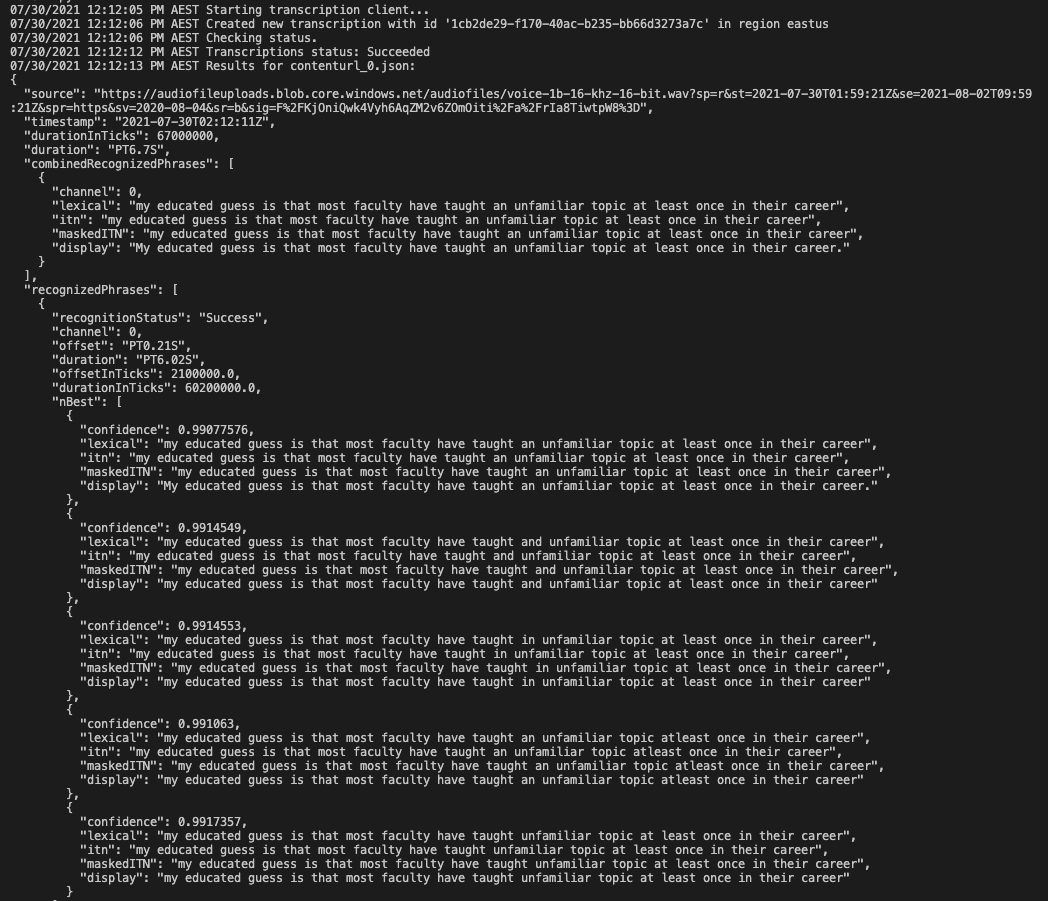
- Following all of the steps above and running the code should generate results such as the following:
Additional Option: Improve Accuracy through training your own Custom model
Custom speech allows evaluation and improvement to the Microsoft speech-to-text accuracy through further model training. This option requires additional test and training data such as human-labelled transcripts and related text. For more information visit Custom Speech.
Learn More
- Introduction to Speech-to-text : Microsoft learn module covering the benefits of Speech-to-text including sample scenarios where it can be applied.
- How to use batch transcription
Need web help?
All websites and applications which form part of the University web presence are expected to be compliant with the W3C's Web Accessibility Guidelines (WCAG) 2.2 AA guidelines.
Get web accessibility help