Set up your University MFA
Multi-factor authentication (MFA) is enabled across all University of Melbourne systems, protecting both your personal information and the University’s data. Setup is quick and easy, and helps make sure it’s really you logging in.
Setting up MFA
Setting up your University MFA is an easy process and only takes a few minutes.
You’ll need:
- Access to a web browser with internet access
- A compatible smartphone with a data connection
Before setting up or using MFA with your University account, you will need to ensure the date and time on your phone matches your location. Please enable the ‘Automatic date and time’ in your settings.
-
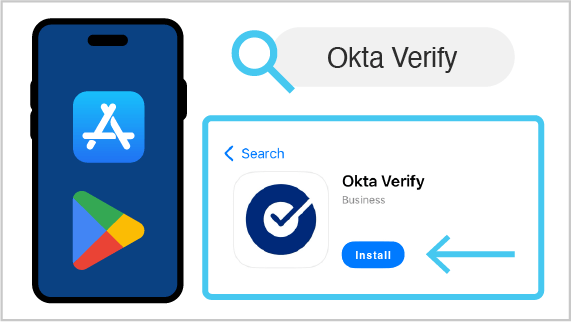
- On your mobile device, install the Okta Verify app
- On a computer navigate to http://sso.unimelb.edu.au

- Log in with your University username and password

- Click on Setup to begin

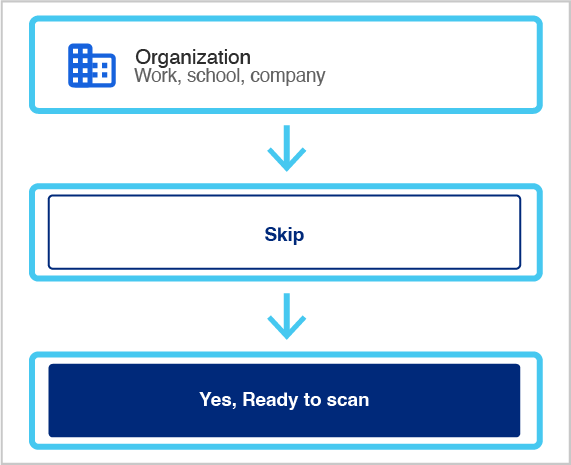
- Open the Okta Verify app on your phone and select Organization, then on the next screen select Skip, and then Yes, I'm ready to scan
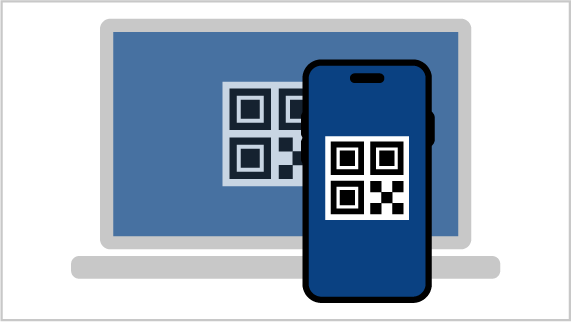
- Scan the QR code off your computer screen
- Congratulations!
You have now enrolled in MFA
- On your mobile device, install the Okta Verify app
-
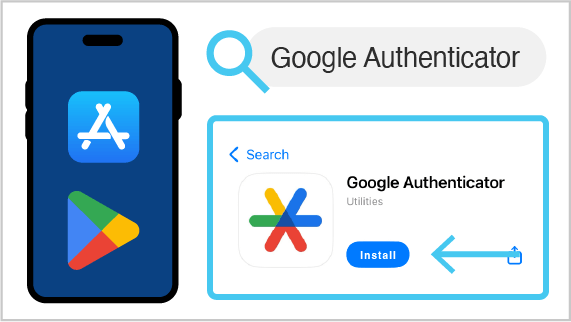
- On your mobile device, install the Google Authenticator app
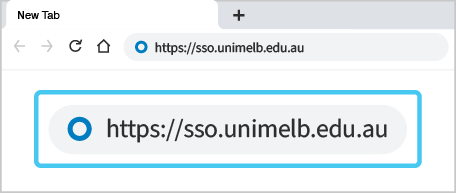
- On a computer navigate to https://sso.unimelb.edu.au and log in with your University username and password
- You will be signed into your MFA self-service dashboard.
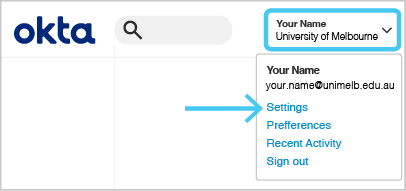
Click on your name in the top right corner and select Settings from the drop down menu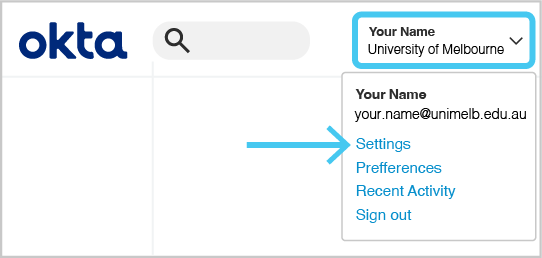
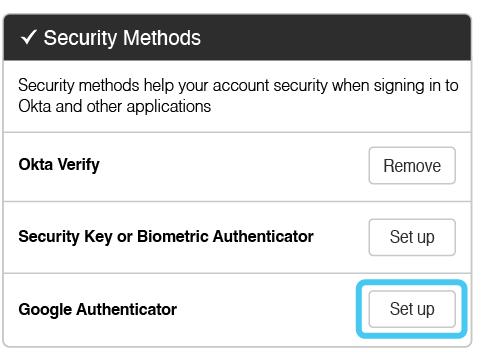
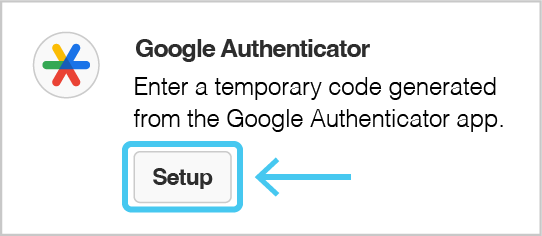
- Scroll down to the Security Methods section and click on Set up next to Google Authenticator
- Click Setup to begin
- Scan the QR code off your computer screen
- Enter the code that is generated in the Google Authenticator app on your phone and click Verify
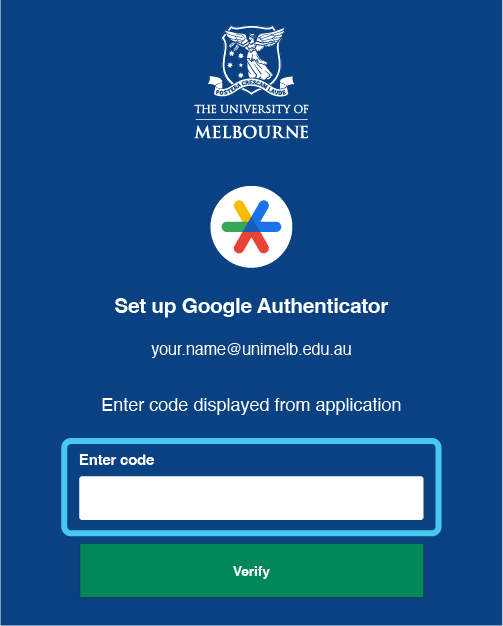
- Congratulations!
You have set up MFA using Google Authenticator
- On your mobile device, install the Google Authenticator app
-
NOTE: Before setting up your Biometric Authenticator or passkey for your University MFA, you must set up Okta Verify first to ensure you will be able to log into University computers on campus.
- After setting up your MFA using Okta Verify, navigate to http://sso.unimelb.edu.au
- You will be signed into your MFA self-service dashboard. Click on your name in the top right corner and select Settings from the drop-down menu
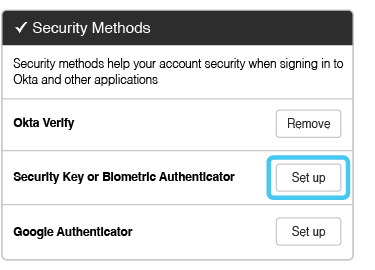
- Scroll down to the Security Methods section and click on Set up next to Security Key or Biometric Authenticator
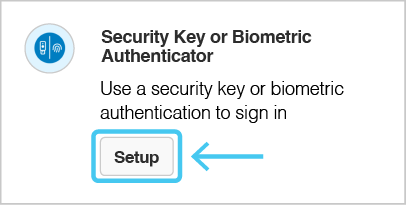
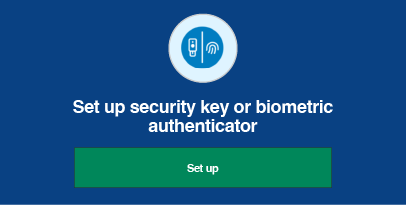
- Select Setup and then on the next screen, select Set up
- To set up the passkey on your phone, you will need to be sure you select Save another way and then select to Save to your phone.
Note: If you’re using the Edge browser, you will first have to select Cancel on the Setup security key pop-up that appears. Then you will be able to select to use your phone. - Scan the QR code off your computer screen and select to Save the Passkey

- Congratulations!
You have now set up your MFA using a passkey and Biometric Authentication
Once the passkey has been set up you will be taken back to your University SSO settings page
- After setting up your MFA using Okta Verify, navigate to http://sso.unimelb.edu.au
Logging in with MFA
-
- Access your University applications as normal.
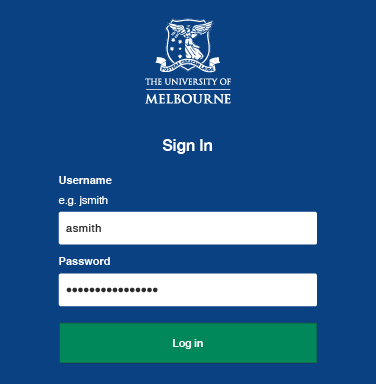
You'll be directed to a Sign In page
- Log in with your University username and password
- Click Send Push

- Check your phone for a notification from Okta Verify.
If you don't have a notification, open Okta Verify.
Select Yes, It's Me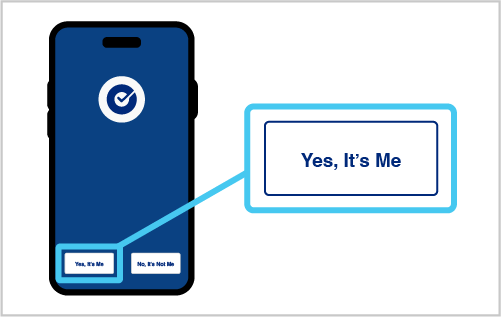
- You'll be signed into your MFA self-service dashboard to access your University apps
Keep your phone with you as you may be prompted to verify your identity with MFA at any time.
- Access your University applications as normal.
-
- Access your University applications as normal.
You'll be directed to a Sign In page - Log in with your University username and password
- Select Google Authenticator
You'll be asked to enter a six-digit code that you can find in the next step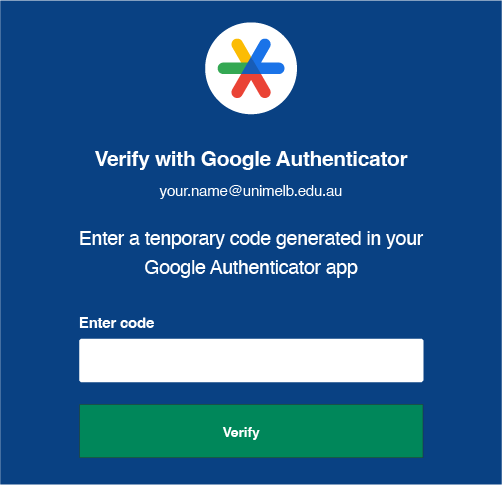
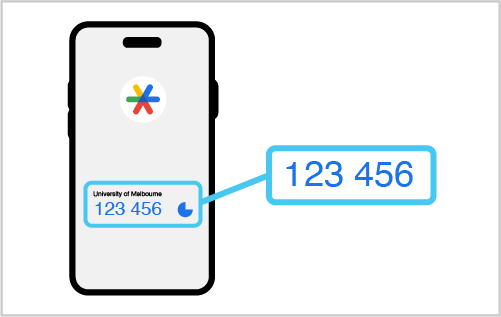
- On your phone, open Google Authenticator to see a six-digit MFA code. Enter that code into the Enter Code field on your computer
- You'll be signed into your MFA self-service dashboard to access your University apps
Keep your phone with you as you may be prompted to verify your identity with MFA at any time.
- Access your University applications as normal.
-
You can log in using Okta Verify or Google Authenticator as usual from overseas.
In instances where you won't have data, you will have to verify your identity through MFA using a code.
We we recommend that you set up Google Authenticator as a backup before you leave Australia.
-
This guide explains how to use a passkey to log into your University account when your passkey has been saved to your mobile phone.
- Access your University applications as normal. You'll be directed to a Sign In page

- Log in with your University username and password
- Click Select next to Security Key or Biometric Authenticator
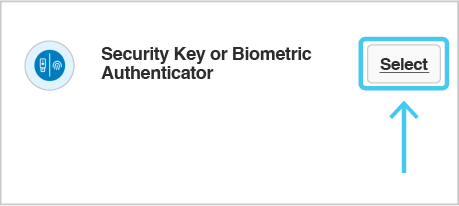
- Use your phone camera to scan the QR code that that appears in the web browser where you’re trying to log in. You will see an option on your phone pop-up. Select Sign in with a Passkey. Your phone may ask you to verify using biometrics (like your fingerprint or face
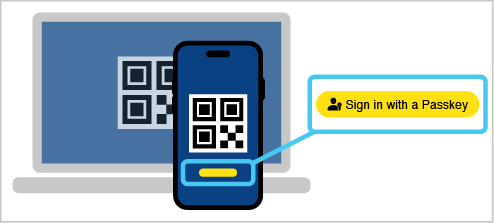
- You'll be signed into your account

Keep your phone with you as you may be prompted to verify your identity with MFA at any time.
- Access your University applications as normal. You'll be directed to a Sign In page
Your privacy
Discover how the University of Melbourne manages your personal information for multi-factor authentication (MFA) by viewing our detailed privacy notice.
Support
Have a question or need help setting up your University MFA?