
Captioning for universal access
As part of a broad and diverse community, we strive to continuously learn and make an ongoing effort to improve our processes so we can foster a more accessible online and in-person environment.
The University’s Disability Inclusion Action Plan 2023-2026 is contextualised by the Government’s comprehensive legislative framework and outlines steps to removing or minimising the barriers to participation and education for all staff and students.
There are some useful video captioning explainers and resources on the University's accessibility portal.
If you have made a video with us, read our guides below to successfully proofread and export your caption transcript.
Proofreading the captions for your video using Rev
Great news - the caption transcript for your video has been human-proofread and is nearly ready to be uploaded and shared with the video.
While the bulk of these captions have been done via the highly accurate Rev transcription service, we advise that you do a final check of your caption file to ensure the best possible accessibility standards for your video.
We have provided a simple 'how-to' guide on editing the captions below, which also includes instructions on how to upload the caption (.vtt and .srt) files with the video once you are confident it is all ready to go.
-
Open the link to Rev.com - you should find this link in the email your producer has sent you.
-
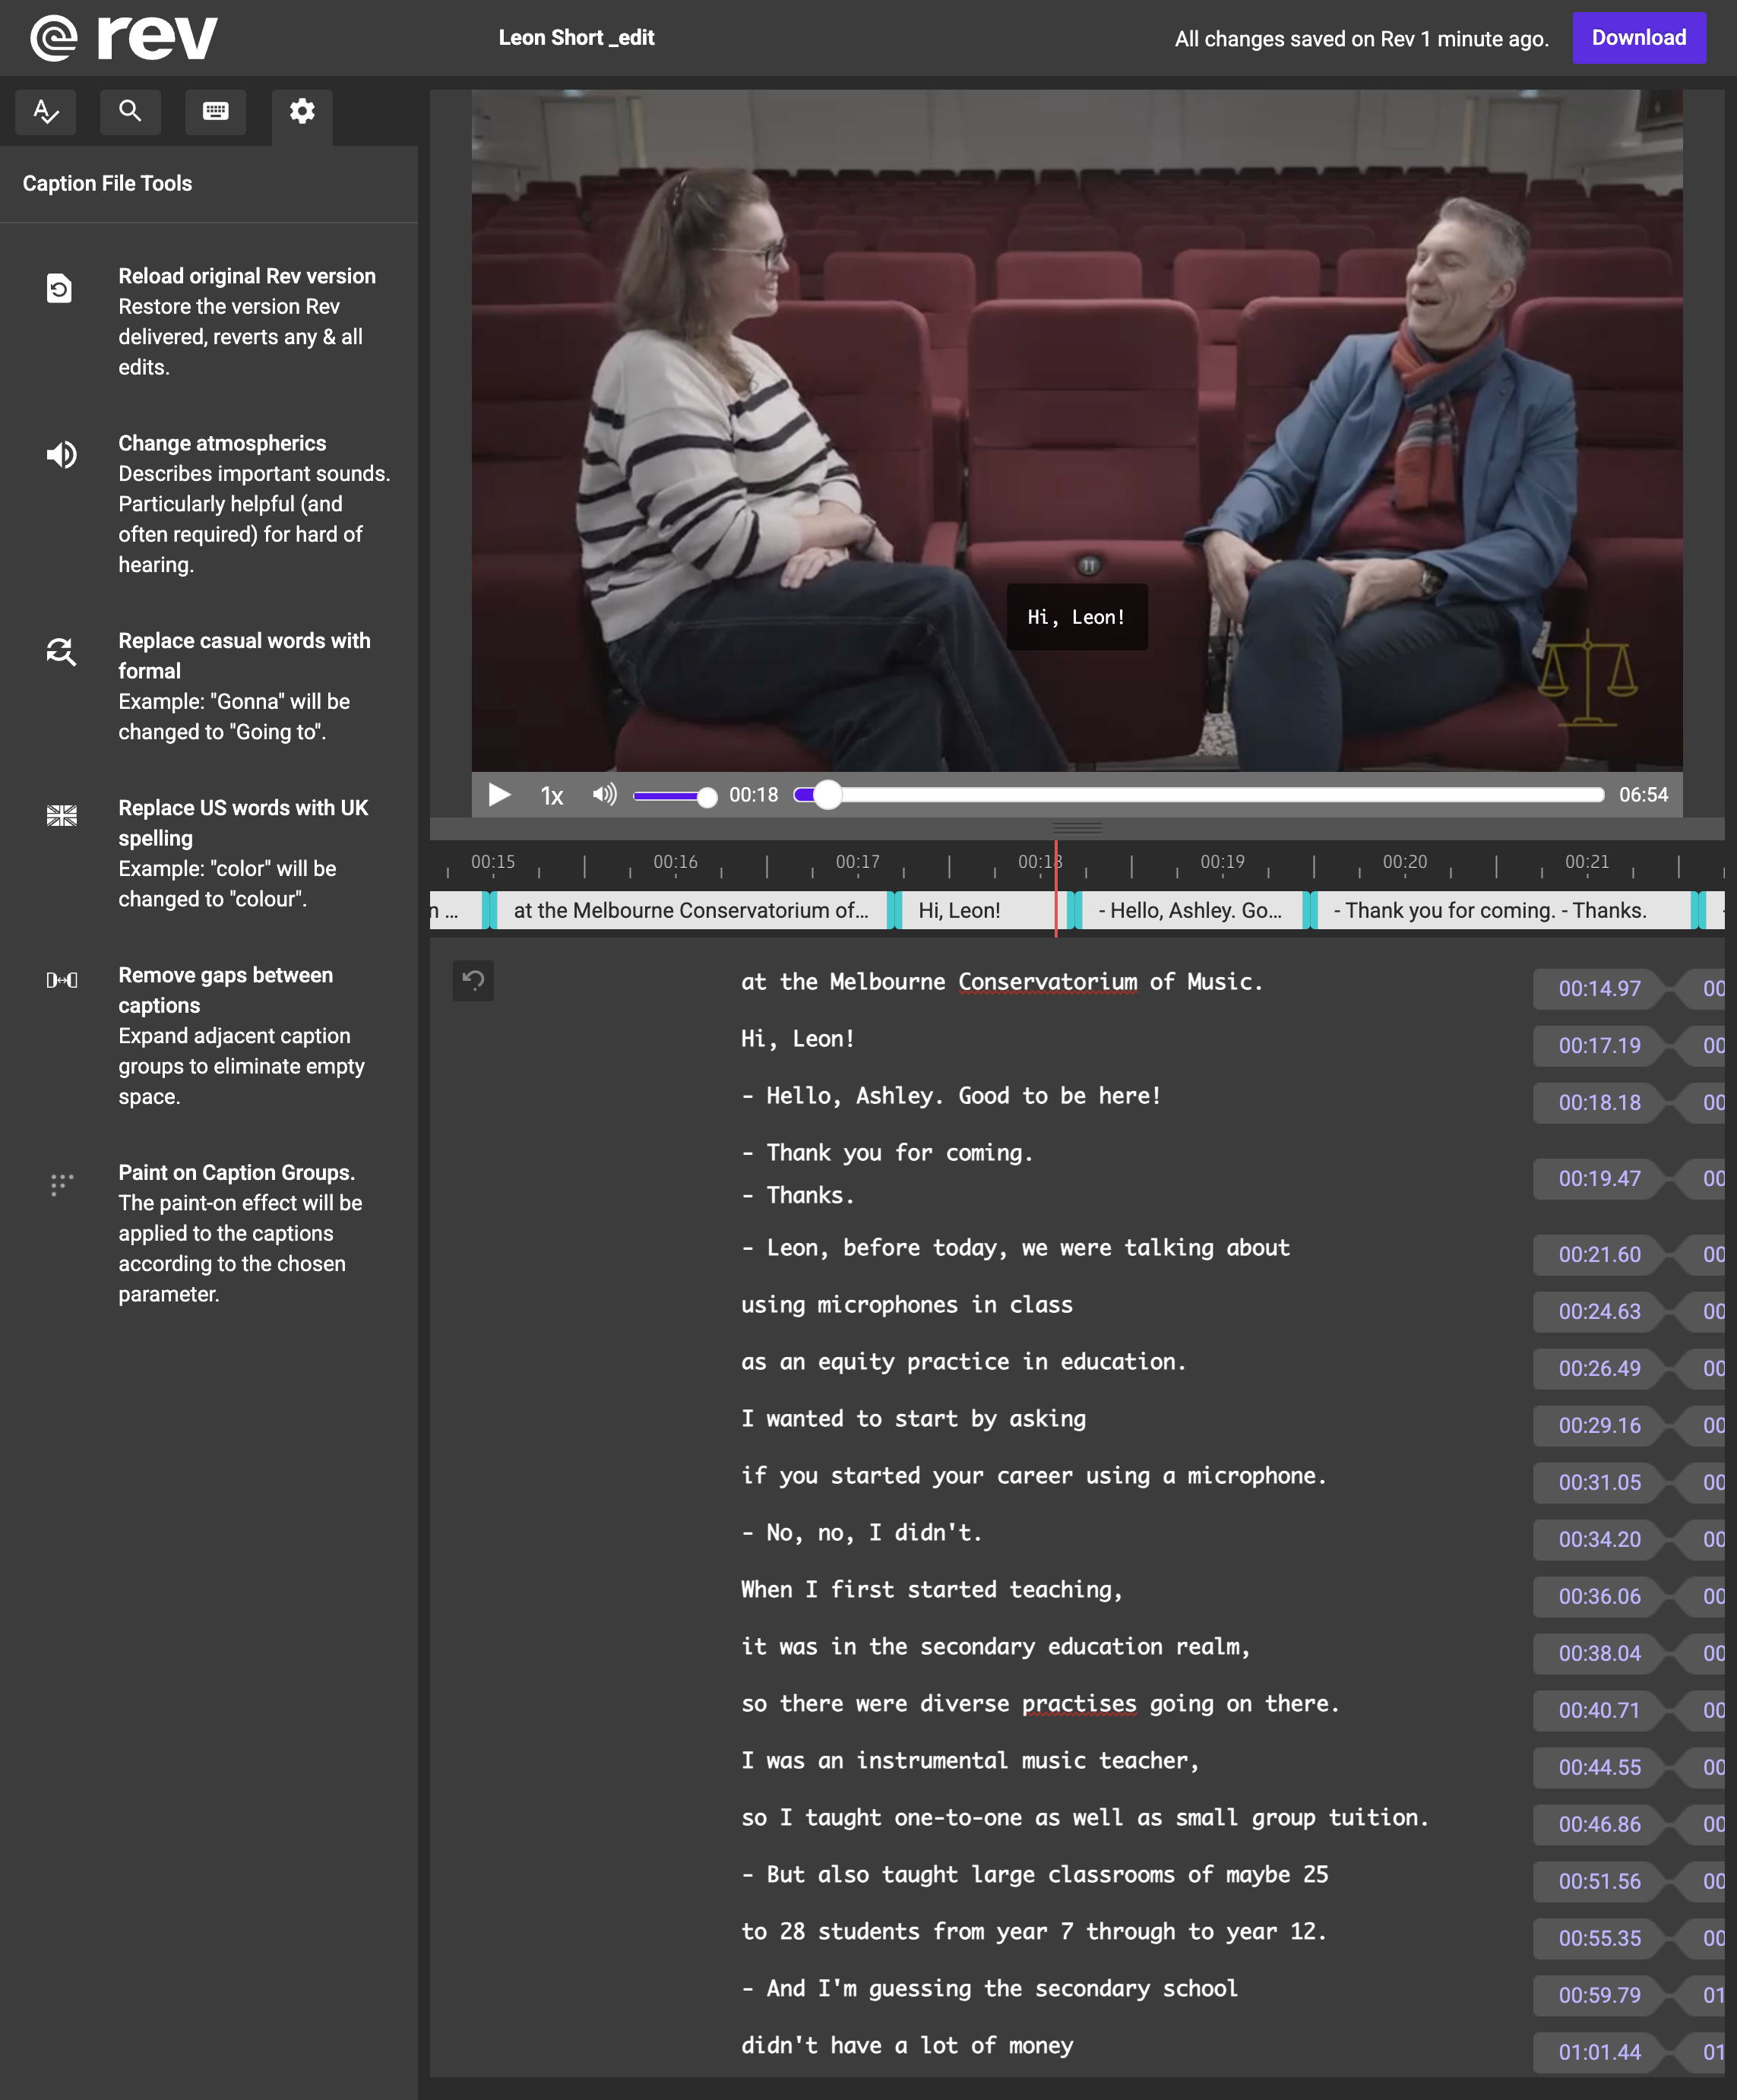
You can play your video in the top half of the screen while you check/proof the text for your captions.
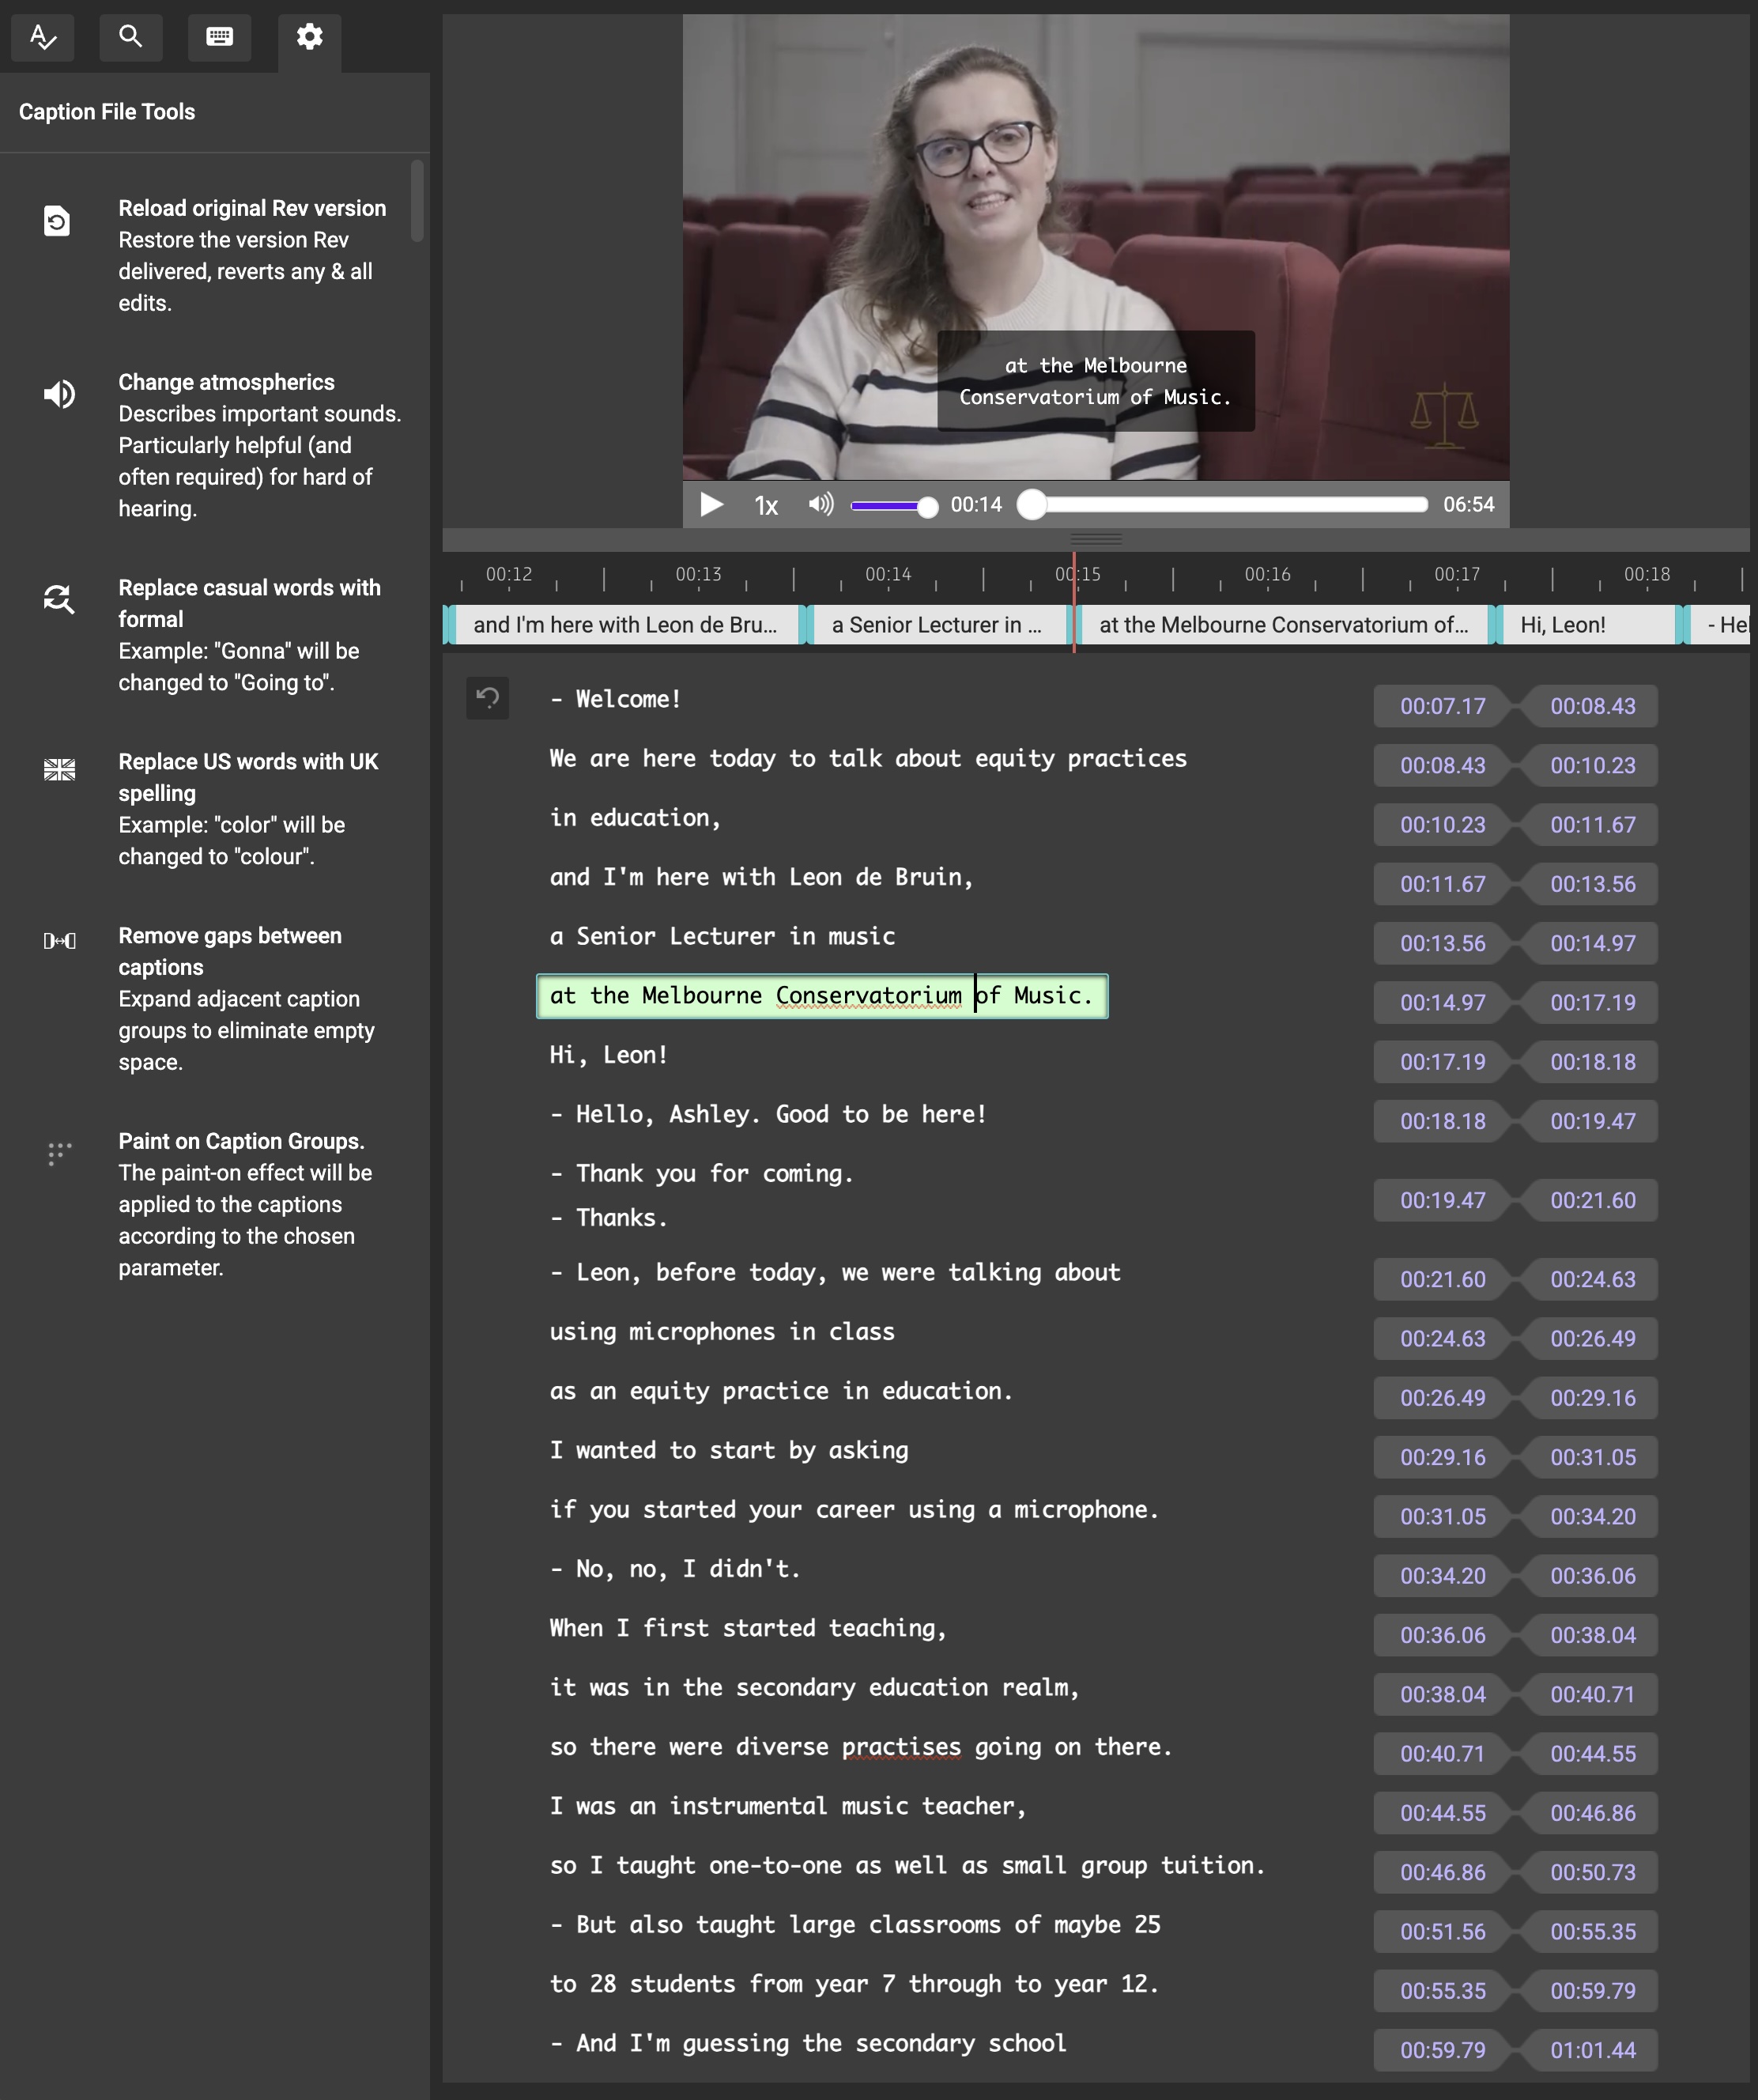
To edit the text: Click on a word you’d like to edit, and it will appear in a green box. Some suggested words to be edited will also be underlined with red.
Underlined word zoomed in:

Your caption transcript has been already proofed by a person, but we suggest that you double check the following:
- People’s names
- Punctuation
- Indigenous words
- Words in languages other than English
- Technical terms
Please note:
- Do not change any of the timings (numbers) and ignore the ‘Speaker’ headings (as they do not appear).
- All changes are saved automatically
- If you missed something or want to edit further, this same link can be used for corrections in the future.
-
When you have finished editing your captions, click ‘Download’ in the top right corner of your screen.

This box will pop up:

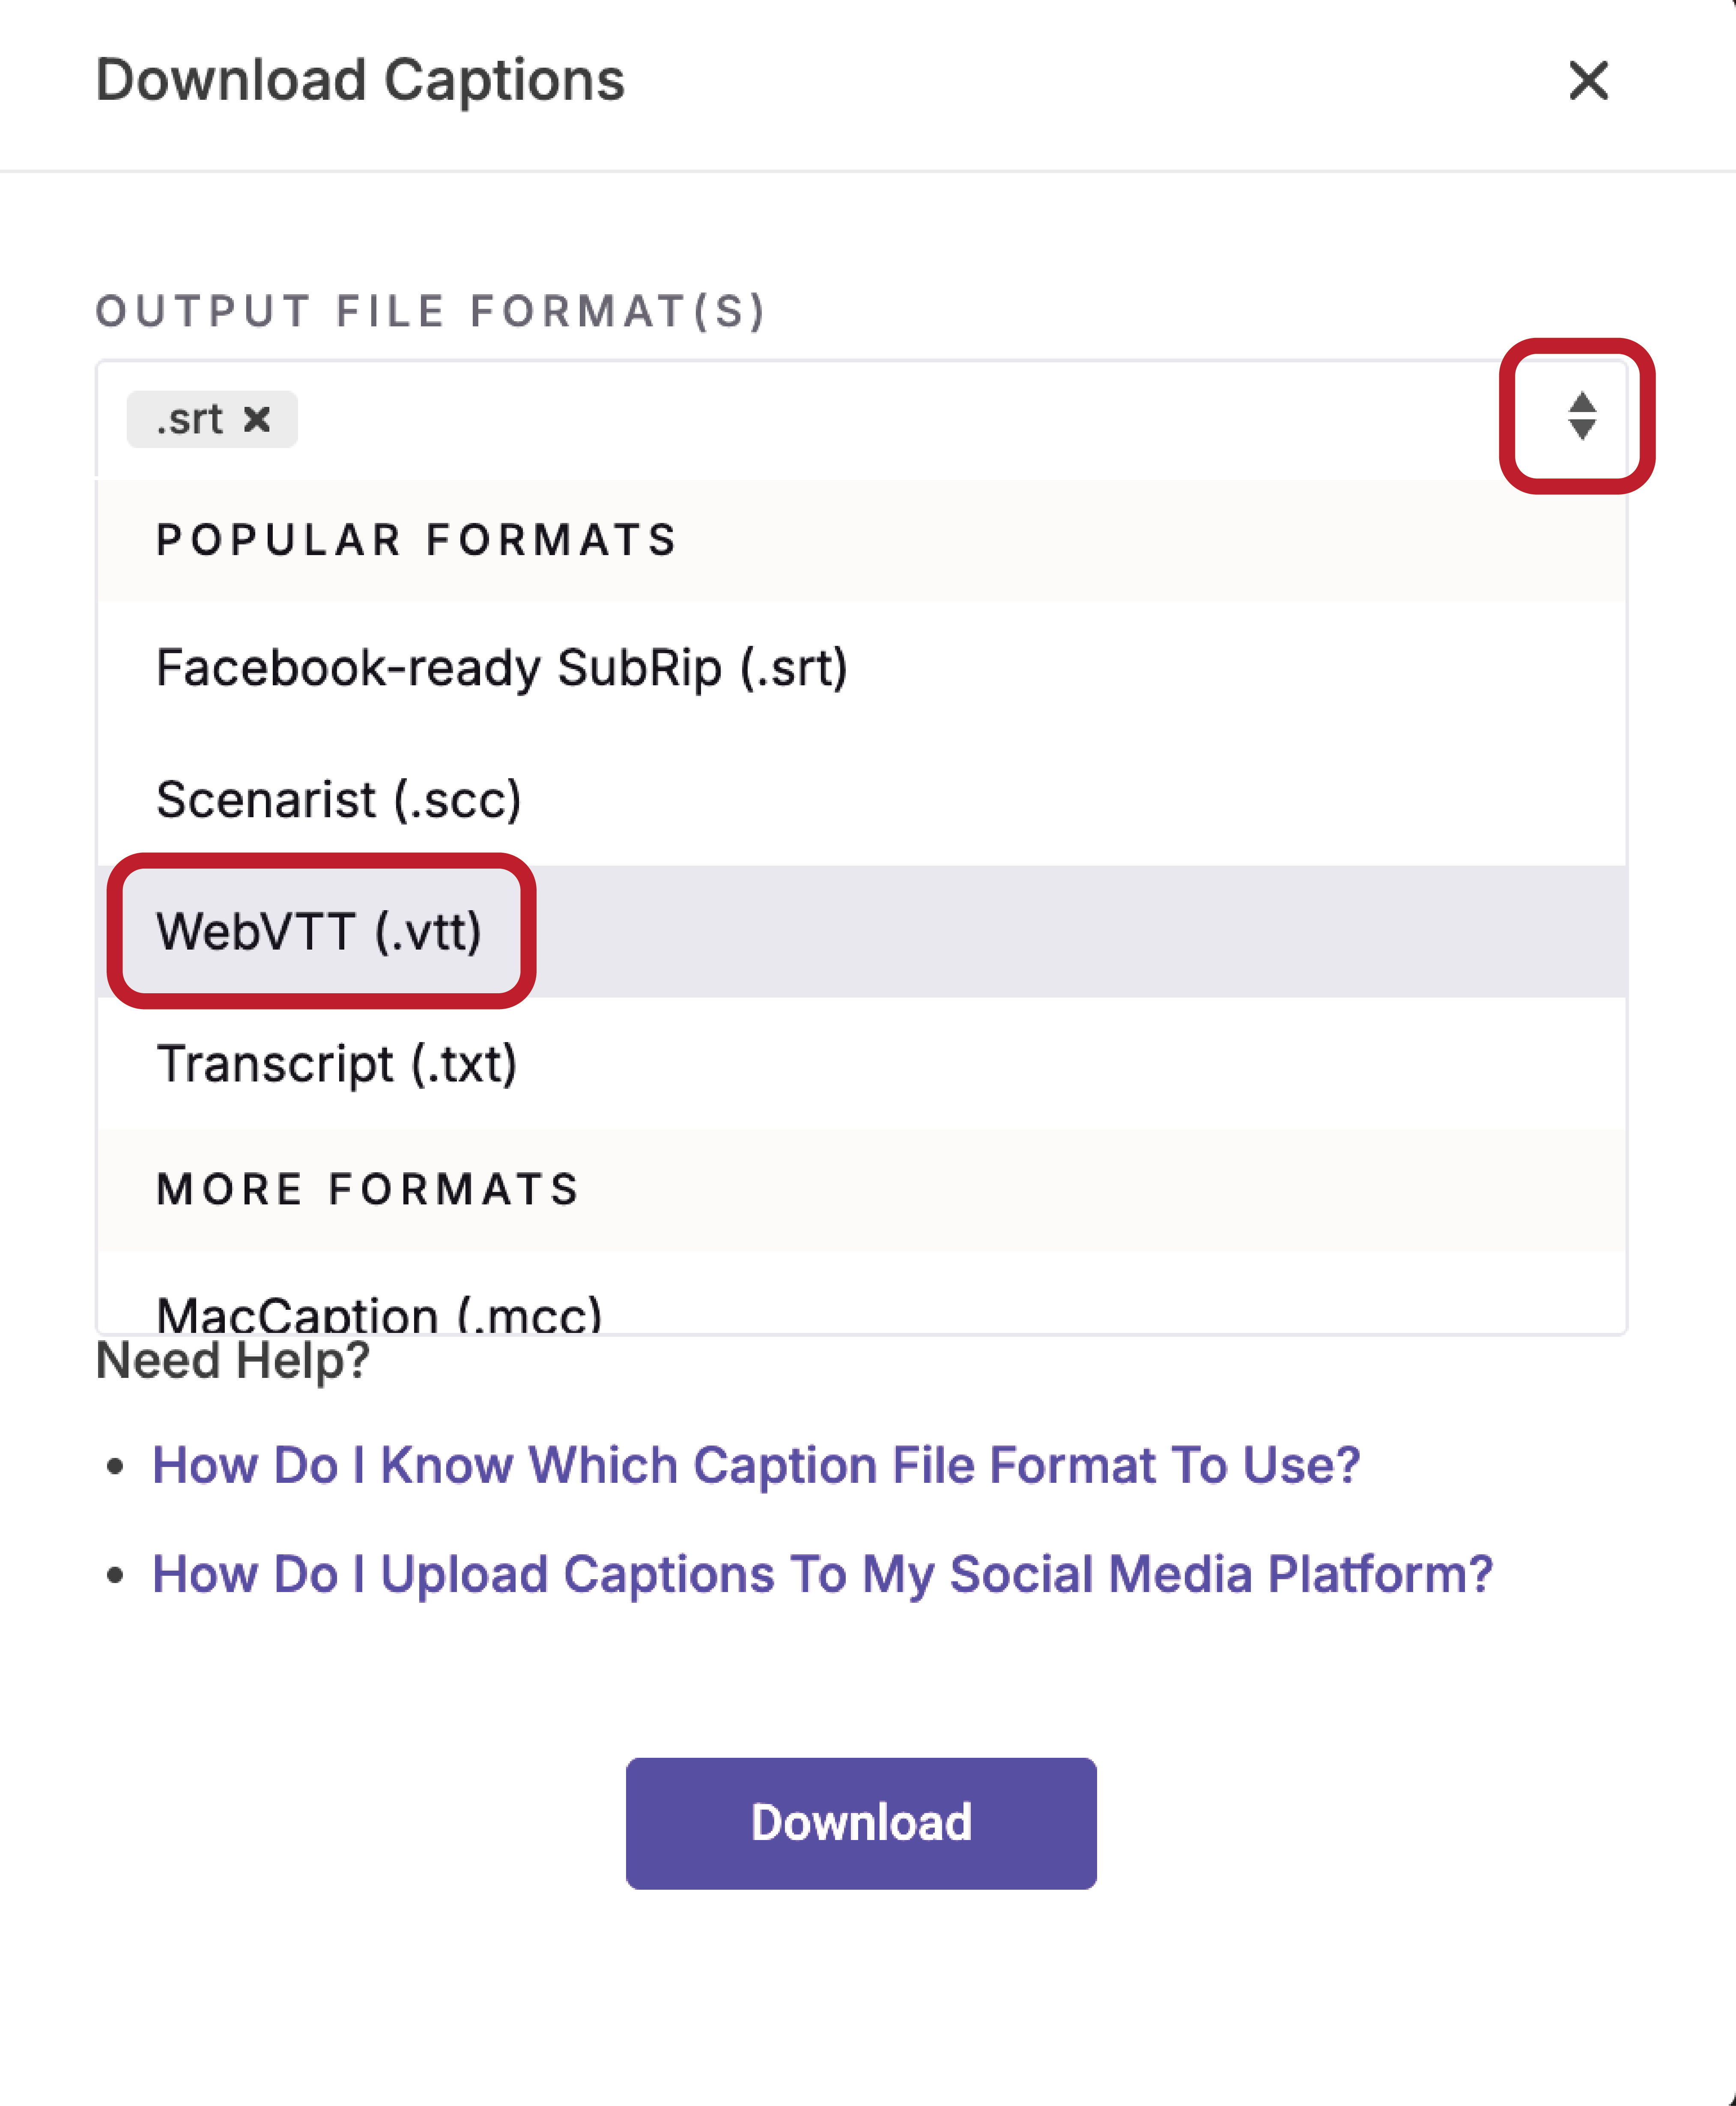
File formats: .srt and .vtt
The output file should automatically be .srt However if you are sharing your video on OneDrive/SharePoint/Stream, you will need to download a .vtt file. In addition, .vtt files are a more widely compatible online standard.
Click the drop down box and select “WebVTT (.vtt)”
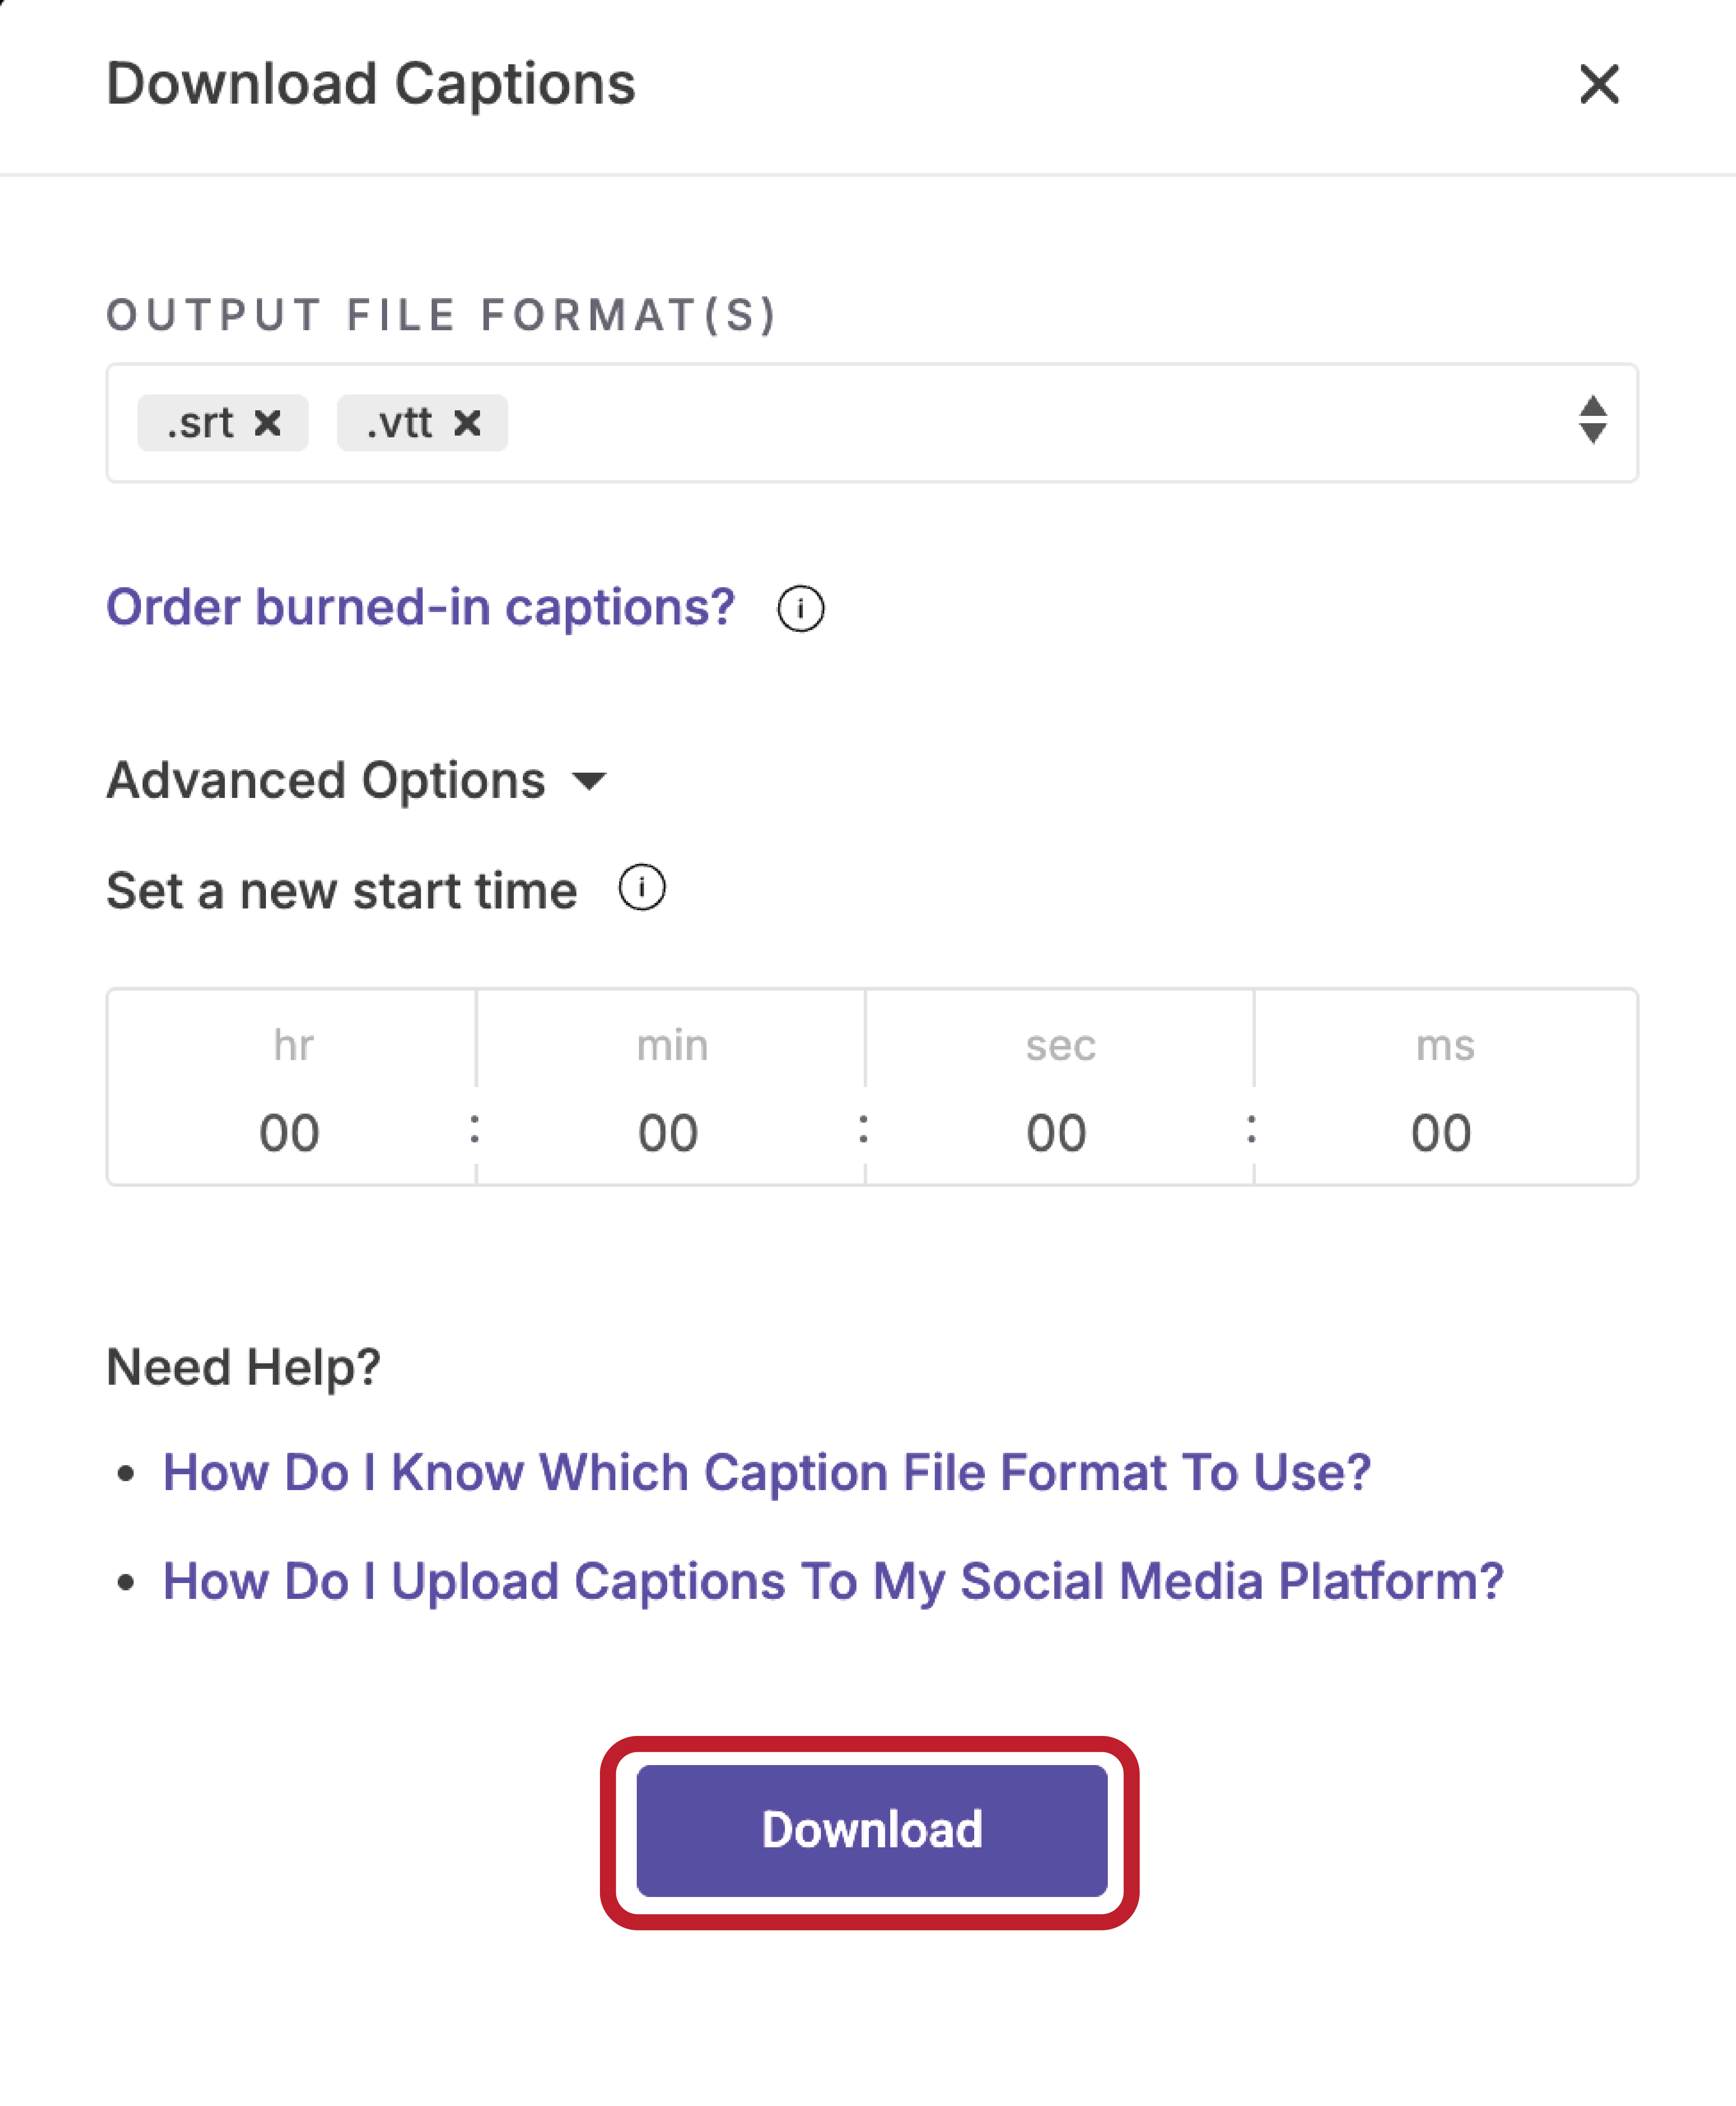
Then, click the download button here. This will download both .srt and .vtt formats.
-
Your proofed captions (as a .vtt or .srt file) will be exported to your computer’s download folder.
It is now ready to be uploaded along with the download of your edited content recording and published to your hosting platform or social media.
How to view, edit and download captions on OneDrive
This guide walks you through how to view, edit, and download captions for your Single Speaker Video on OneDrive.
You’ll learn how to access the transcript, make edits for accuracy, and export the final caption file in .vtt format for hosting alongside your video.
-
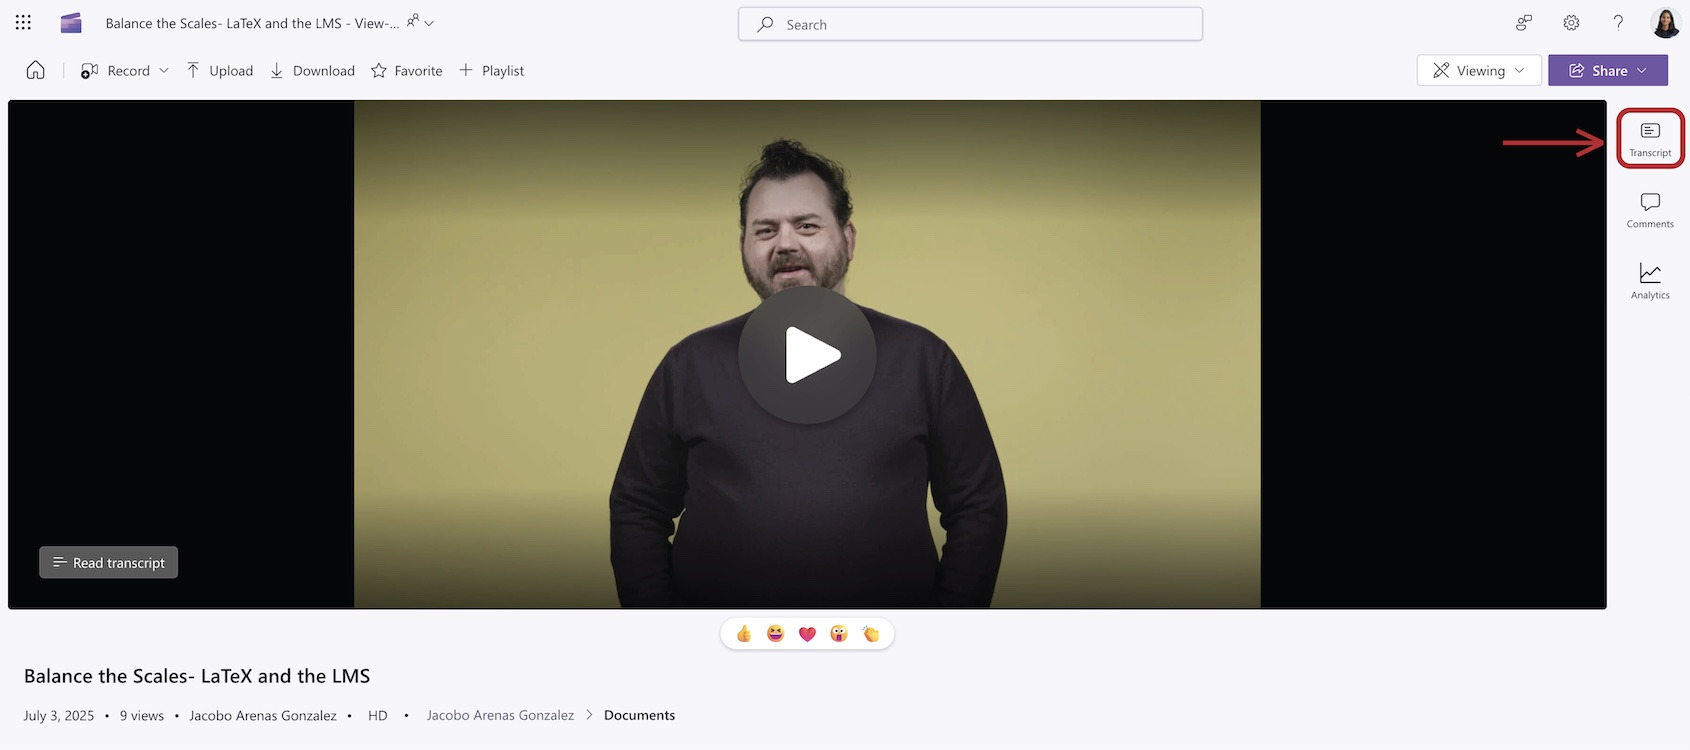
Click on the OneDrive link provided by your producer, you should be able to see the video. On the right side, click the ‘Transcript’ button.
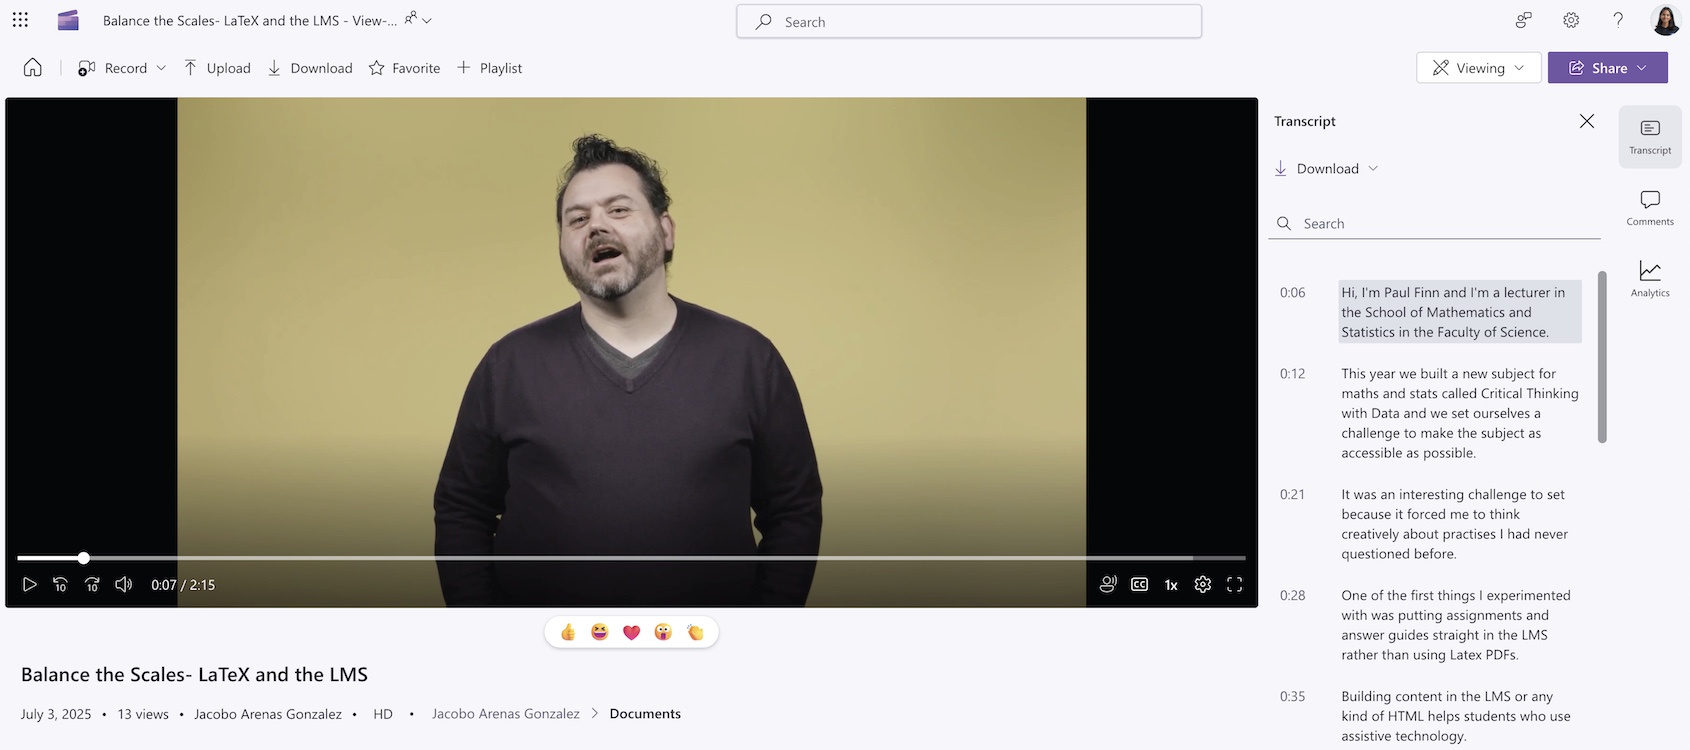
The captions panel should appear on the right side of the screen. Scroll through and read the captions which you can also do whilst watching the video, according to the timestamps.
Your caption transcript has been already proofed by a person, but we suggest that you double check the following:
- People’s names
- Punctuation
- Indigenous words
- Words in languages other than English
- Technical terms
-
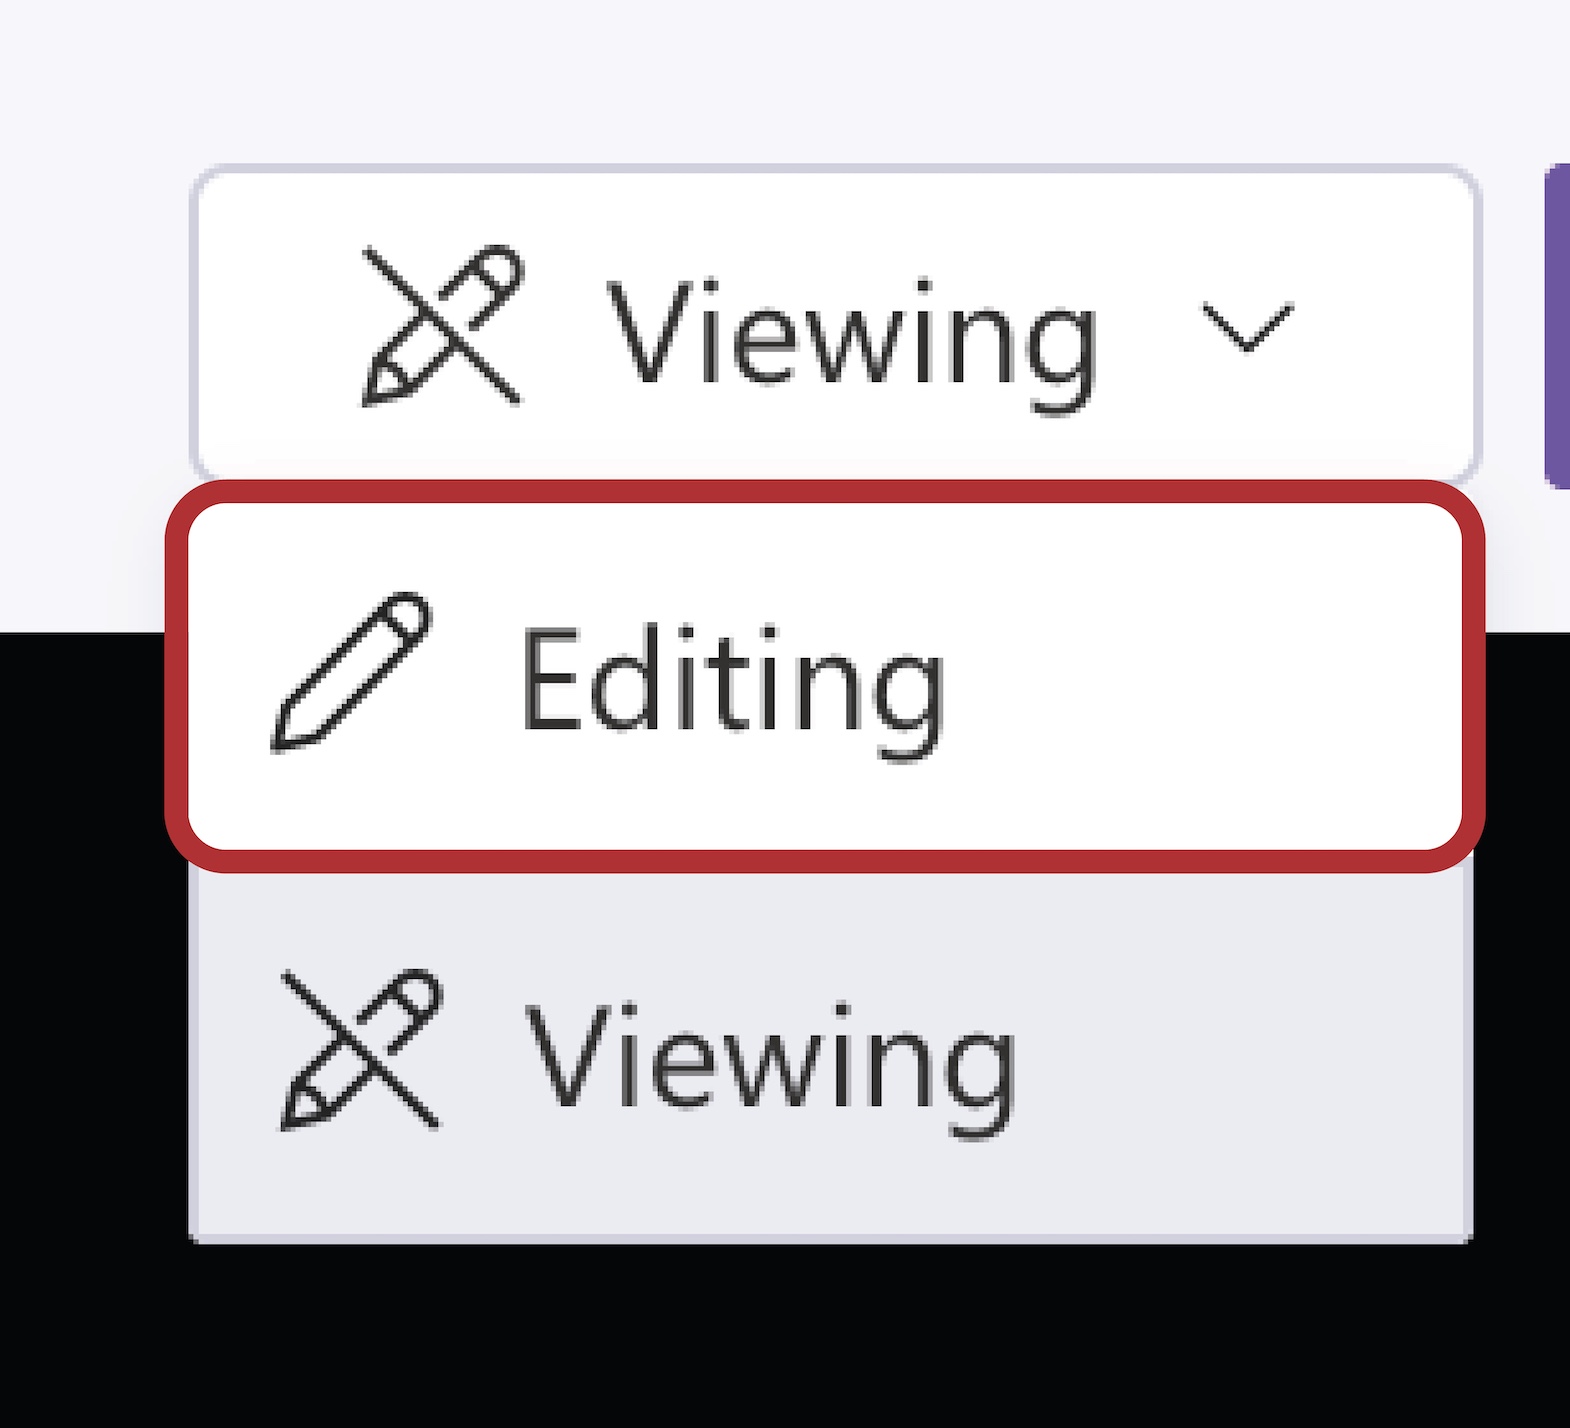
If you’d like to edit the captions, on the top right corner, click on the button that says Viewing and the drop down menu should appear.
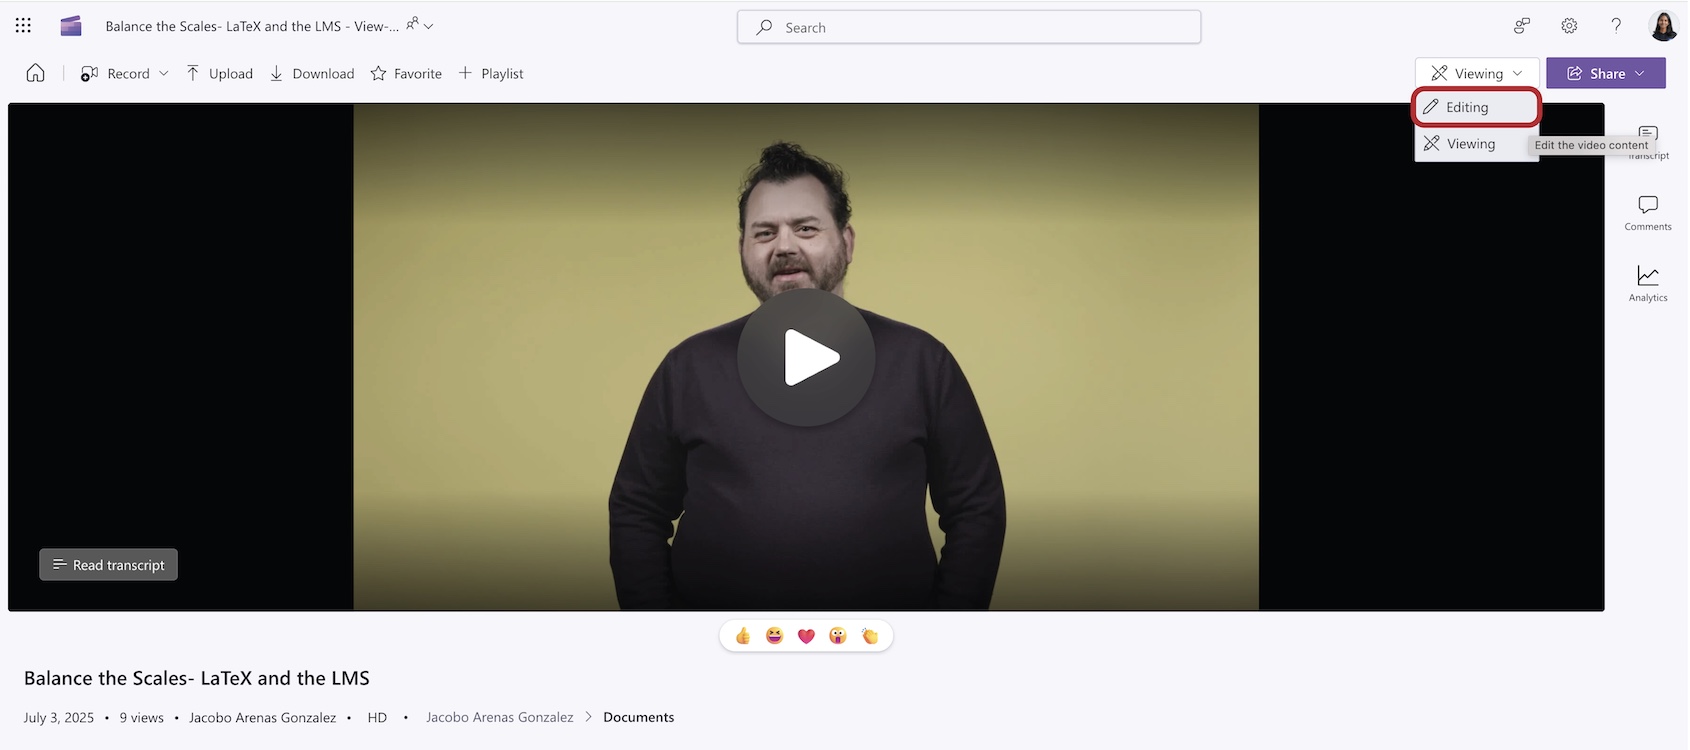
Click on the Editing button from the drop-down menu. This will enable editing mode.
-
Now that you are in editing mode, click on the paragraph or section you want to edit.
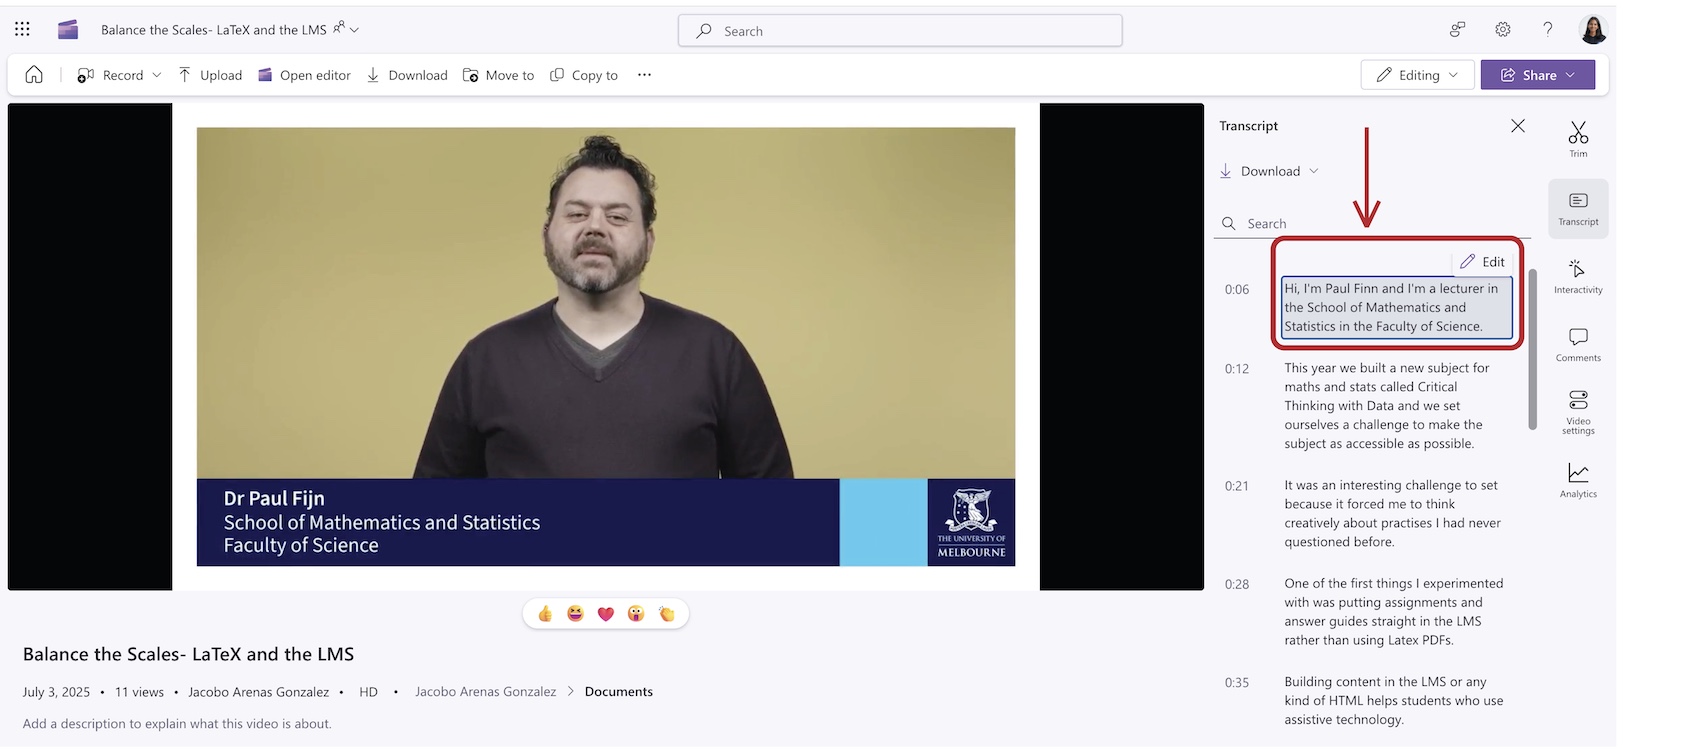
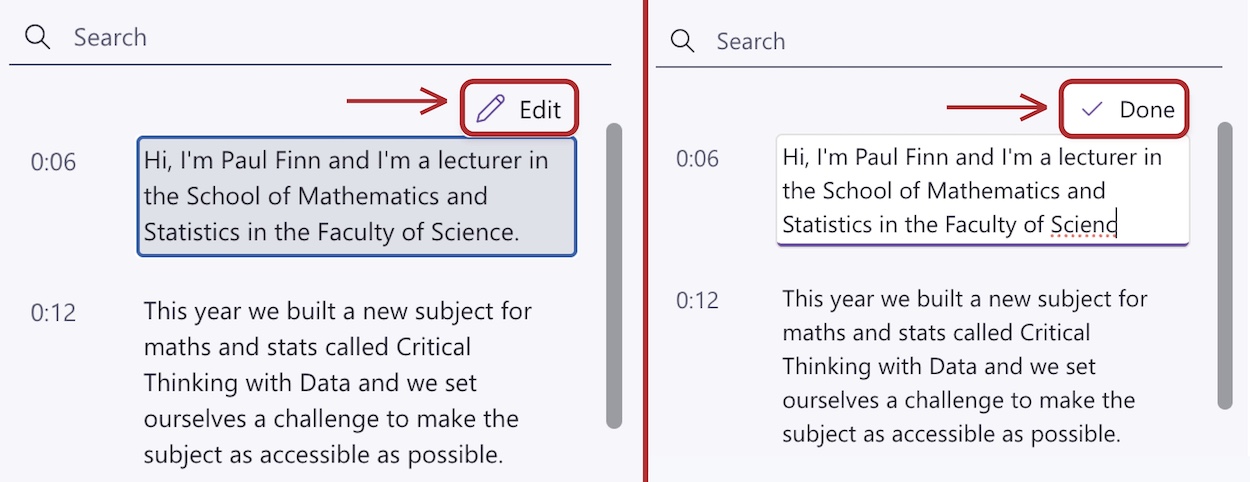
Edit the transcript within the transcript pane simply by hovering over the text to reveal the Edit command. You’ll be able to edit the text selected.
To save any changes made to the transcript, click on the Done command. Alternatively, you can navigate to a different transcript paragraph; any previous change will be saved, and you will automatically be editing the new transcript paragraph.
-
On the top right side of screen, below the word Transcript, you’ll see the Download button. Click on that and select the Download as .vtt option to have your .vtt caption file output.
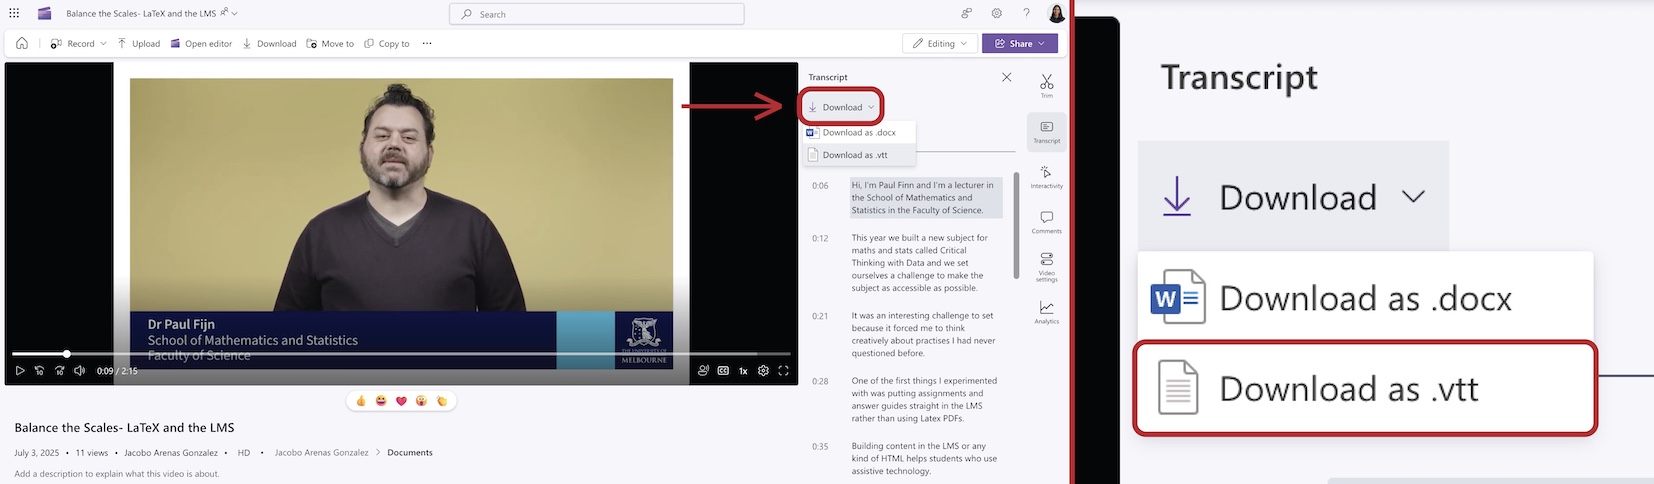
Note: Download the captions (the .vtt file) and the video to host where you need it.