Document Accessibility Toolbar - Installation
Overview
The Document Accessibility Toolbar is a plugin for MS Word that can be used to make documents accessible. Producted by Vision Australia, the toolbar is extremely useful for preparing documents so that they can be exported as accessible PDFs.
Installing the Document Accessibility Toolbar
- Download the Document Accessibility Toolbar from Vision Australia
-
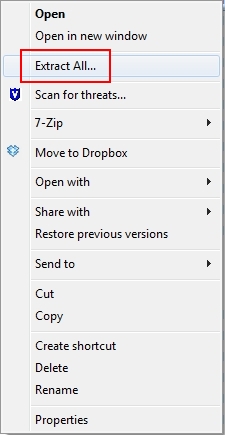
Extract the ZIP file
Double click on the file called 'Install DAT.docm'

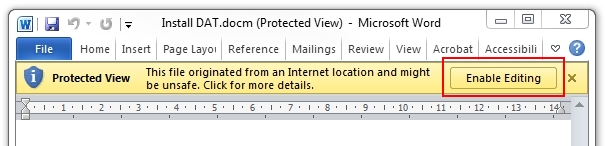
If a 'Protected View' warning appears, select 'Enable Editing'
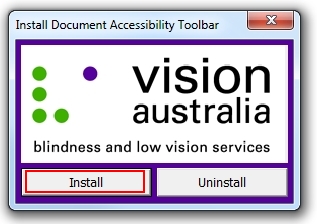
In the Vision Australia dialog box, click 'Install'
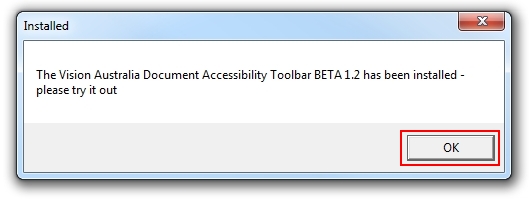
A confirmation message will appear
That's it! An 'Accessibility tab should now appear in Mircosoft Word

Getting started with the Document Accessibility Toolbar
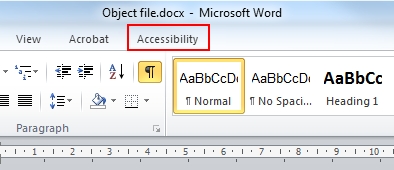
Click on the Accessibility tab.
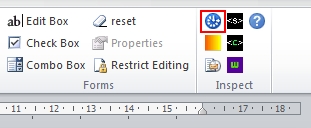
Click on the Check Accessibility icon.
A list of accessibility errors and warnings will appear.
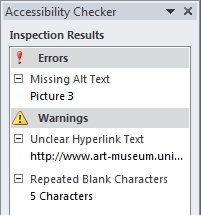
Click on each error and warning to jump to the error location.
Address each error.
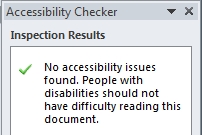
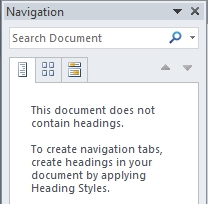
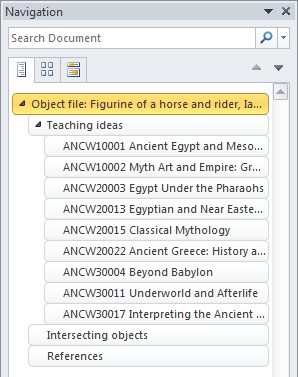
Now take a look at the Navigation pane. If there aren't any headings listed, that's not good.
Use the H1 - H6 tags to add headings to the document.
Finally, export the document as PDF.
More Information
Additional information on using the Document Accessibility Toolbar